Starting This Website
This is it: my first post here, before my website is even close to complete. I thought it’d be worth taking a break from web development for a minute to explain what I’ve accomplished so far, because where I am now is certainly an accomplishment. Currently, I have a live (albeit work-in-progress) website with a complete structure for adding everything that I want to add.
Website Criteria and Constraints
The original idea for this website came up two days ago, when I was looking at some of my friends’ own personal websites. I thought it’d be a good idea to have a single place where I can put my best metaphorical foot forward for job recruiters, interviewers, and anyone else who might be interested in me for whatever reason. But I wanted it to be more than just an interactive resumé; I wanted it to be a way for you, the reader, to get to know me as a person by following along as I work through all of the projects that catch my interest.
As far as technical design, I wanted this site to be simple, both on my end as I create more content, and on the UX end as a visitor checks out my site. I wanted to minimize the amount of actual web development required because two days ago, I had zero experience with front end development. But I wanted to maximize the control I have over the site, and minimize the amount of intrusions from proprietary software trying to make money off of me. Oh, and I wanted to do it all for free.
Sounds impossible, right? Turns out, it isn’t.
The Plan
I read a few weeks ago about a feature of GitHub known as GitHub Pages, which essentially allows you to create a free website for your account hosted as a Git repository. It’s designed for static sites only (more as a way to create nice documentation for projects than anything else), but that’s not a problem considering that minimalism is part of my design criteria. It also gives you a free domain at username.github.io, which might be even better than a custom domain for a programmer’s website because of the association with GitHub.
But I still didn’t know any web development, so how could I actually take advantage of what GitHub was offering? Well, on the very same website where I learned about GitHub Pages, Jekyll was suggested as a static site generator that generates HTML webpages from Markdown files. It promised single-command site builds and direct integration with GitHub Pages, as well as a huge number of themes to choose from, without having to learn any web-dev.
So I made the decision to proceed with GitHub Pages and Jekyll, and spent a full day getting familiar with both. Once I had a general feel for what I would and wouldn’t be able to do with this set of tools, I created an overall site plan that met all the criteria I started out with:
-
A main page containing my interactive resumé, so that anyone could get a feel for who I am at a glance.
-
A Posts page that I could add content to as I work on cool projects that are worth talking about.
This kind of thing is exactly what Jekyll and GitHub pages were advertised for, so it should be fairly mundane to set up, right? Wrong.
The Execution
Installing Jekyll
First things first: I had to install Jekyll. On my M1 MacBook, this was far easier said than done. Jekyll’s installation guide had a long string of commands to run in order to install dependencies and set up environment variables. But it never is as simple as copy-pasting, is it? After following all the instructions and troubleshooting a Gemfile not found issue, I was met with this cryptic error:
[NOTE]
You may have encountered a bug in the Ruby interpreter or extension libraries.
Bug reports are welcome.
For details: https://www.ruby-lang.org/bugreport.html

[IMPORTANT]
Don't forget to include the Crash Report log file under
DiagnosticReports directory in bug reports.

zsh: abort      jekyll
Yeah… Thanks, Jekyll. Very cool. Needless to say, that put a pin on any hopes I had of running Jekyll locally on MacOS, as I couldn’t find instructions anywhere which actually solved the problem. My assumption is that this is some issue with the new architecture on the M1 Macs (though this is pure speculation, “You may have encountered a bug in the Ruby interpreter or extension libraries” tells me absolutely nothing about what went wrong).
Instead of continuing to butt my head against a concrete wall, I decided to take a different approach: running Jekyll on a virtualized Ubuntu image. For Ubuntu virtualization on M1, I used Multipass, Canonical’s own solution that officially supports Apple silicon. It’s basically a QEMU frontend that gives me a high-level command-line interface for spawning light and fast Ubuntu Server images. This exactly fit my needs, so I installed the latest Ubuntu version and set up Jekyll on the virtual machine. Setup was a breeze this time, as it always is on Ubuntu. The only downside is that I could not for the life of me figure out how to run Jekyll locally and see the webpage on MacOS’ browser, but as I’ll get into later, that isn’t too much of an issue.
Setting up a GitHub Pages Site
This was, once again, a lot easier said than done. I ended up following this extremely helpful documentation straight from GitHub that explained how to set everything up in a way that fully integrates with my online repository. The only downside I found with this is that GitHub doesn’t let you have a private personal Pages site, meaning that I have to make this website public before it’s complete.
Once I had a site, I changed some of the information and created a main page and a Posts page, fulfilling the plan I created for the site. I also went ahead and forked the Minima theme for Jekyll so that I could make changes to it later, and set the site to use it.
Final Result
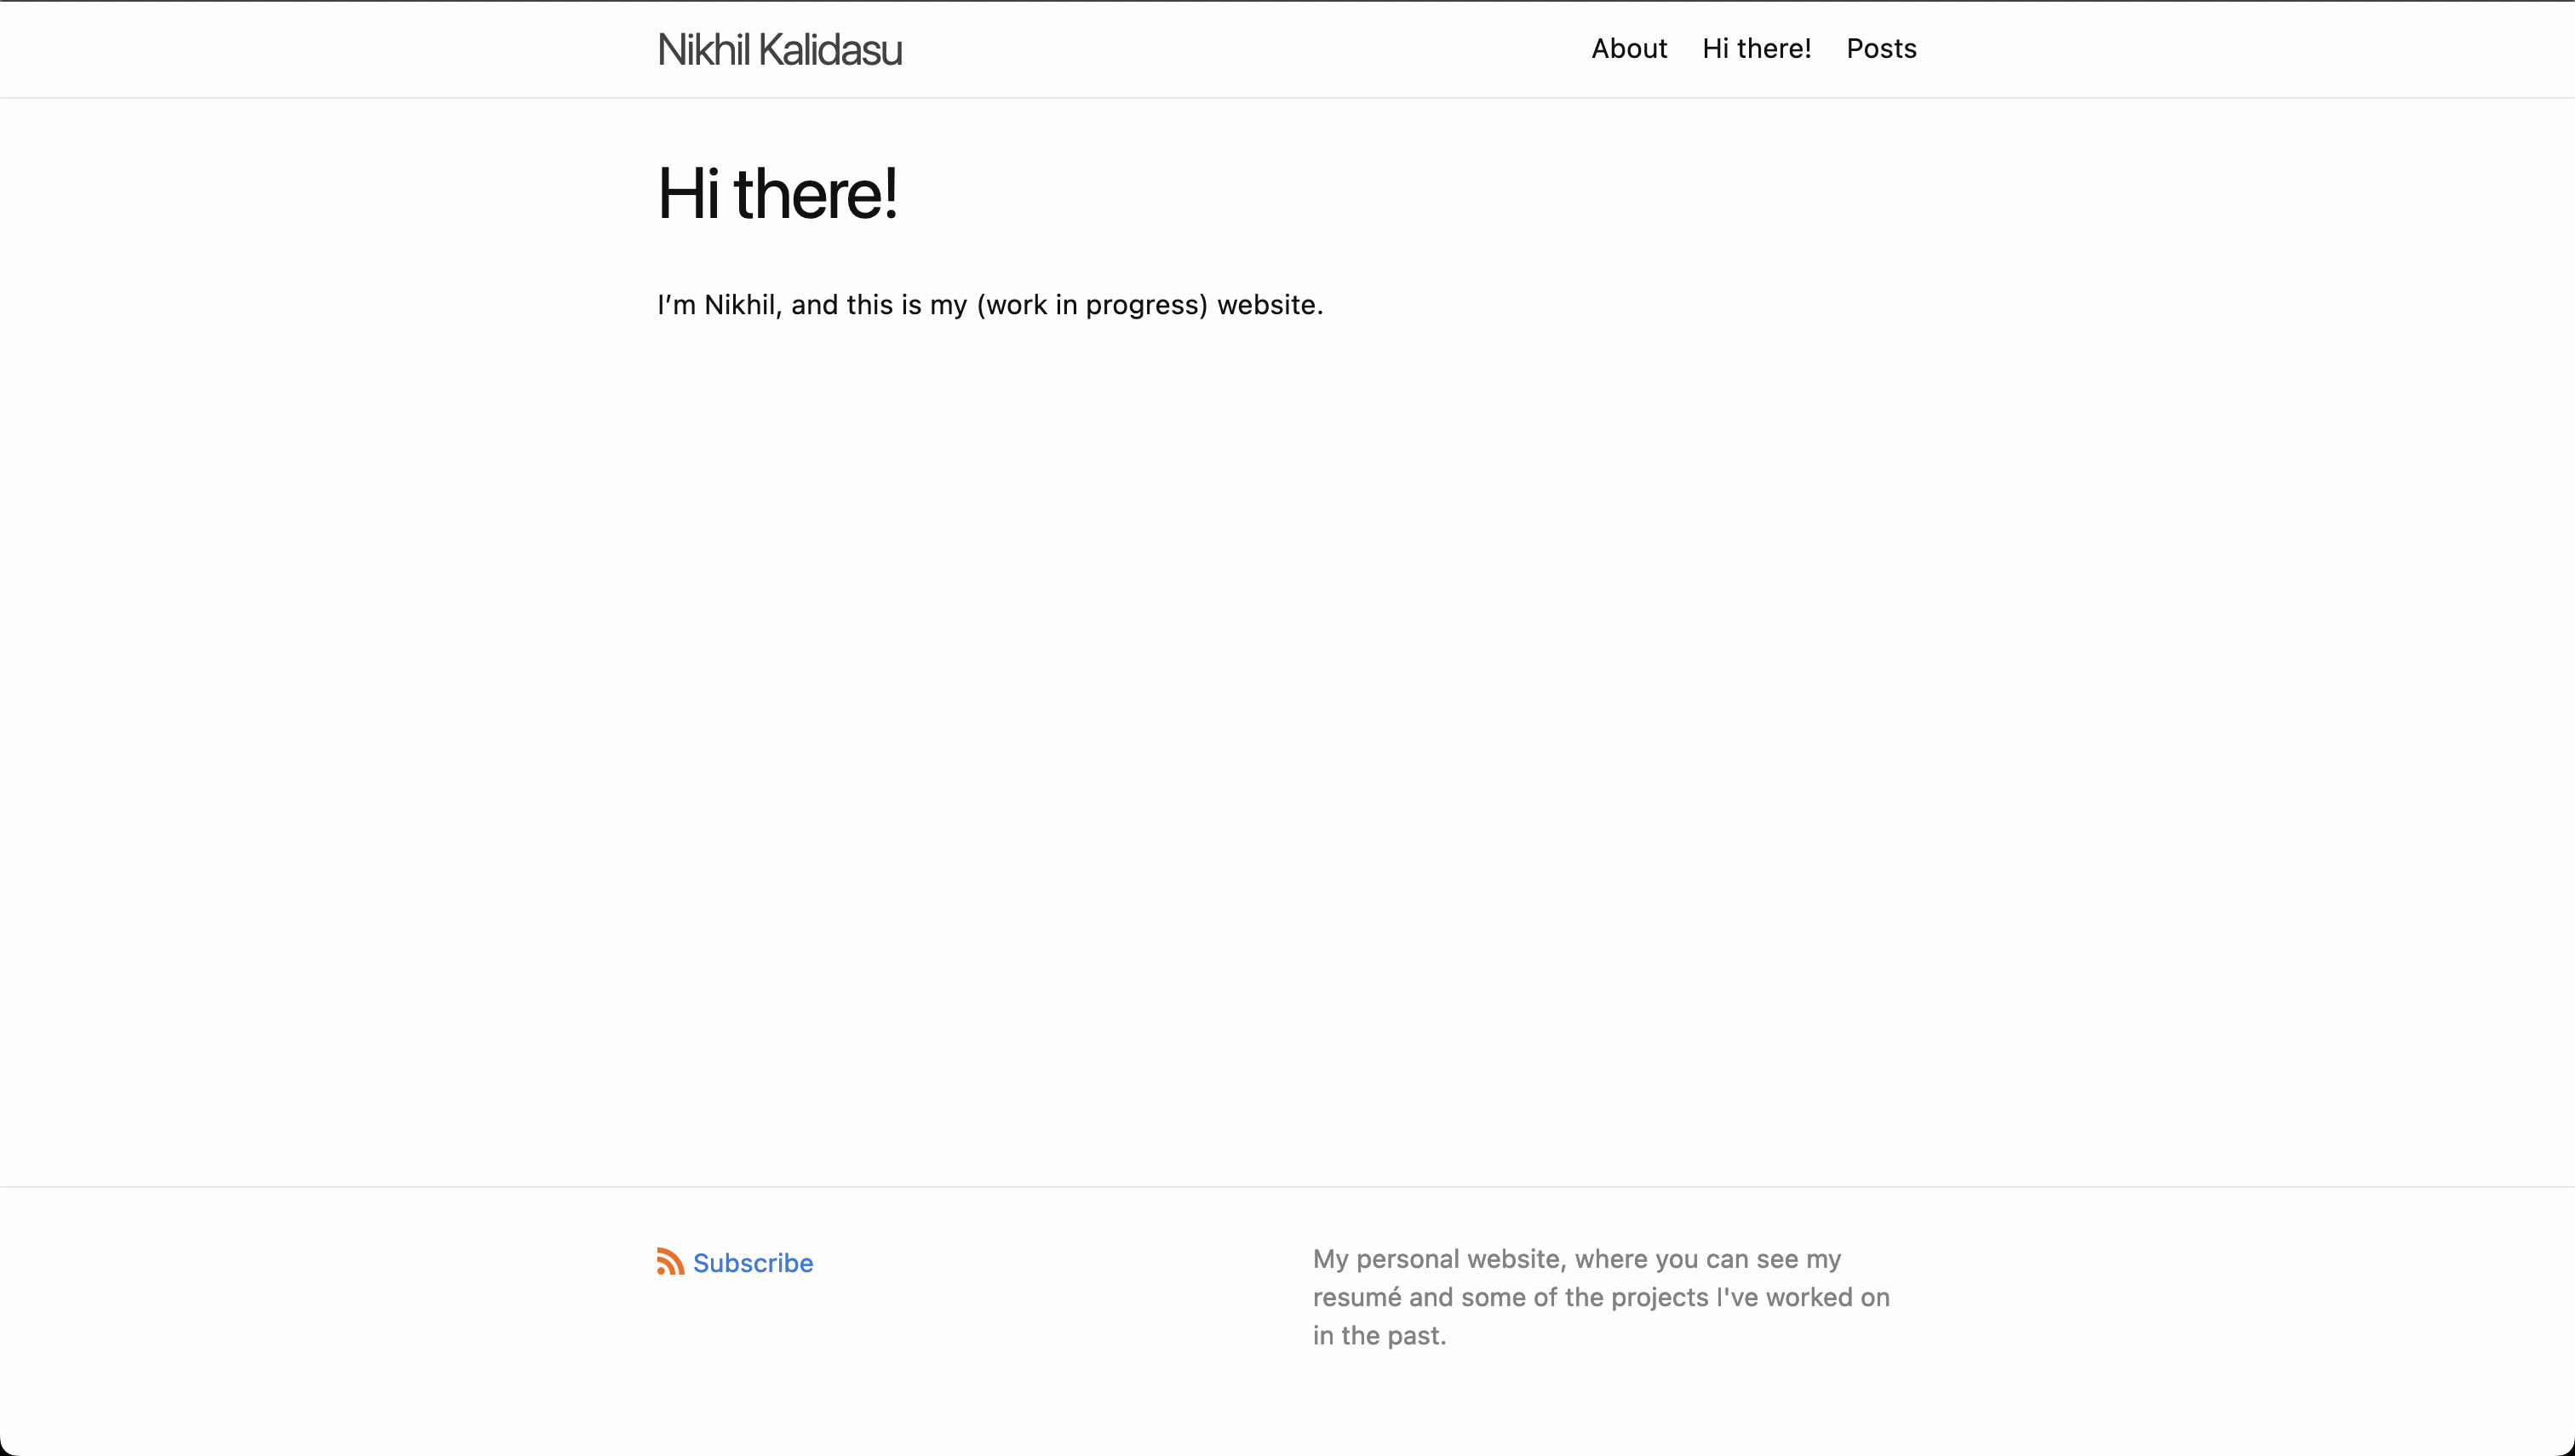
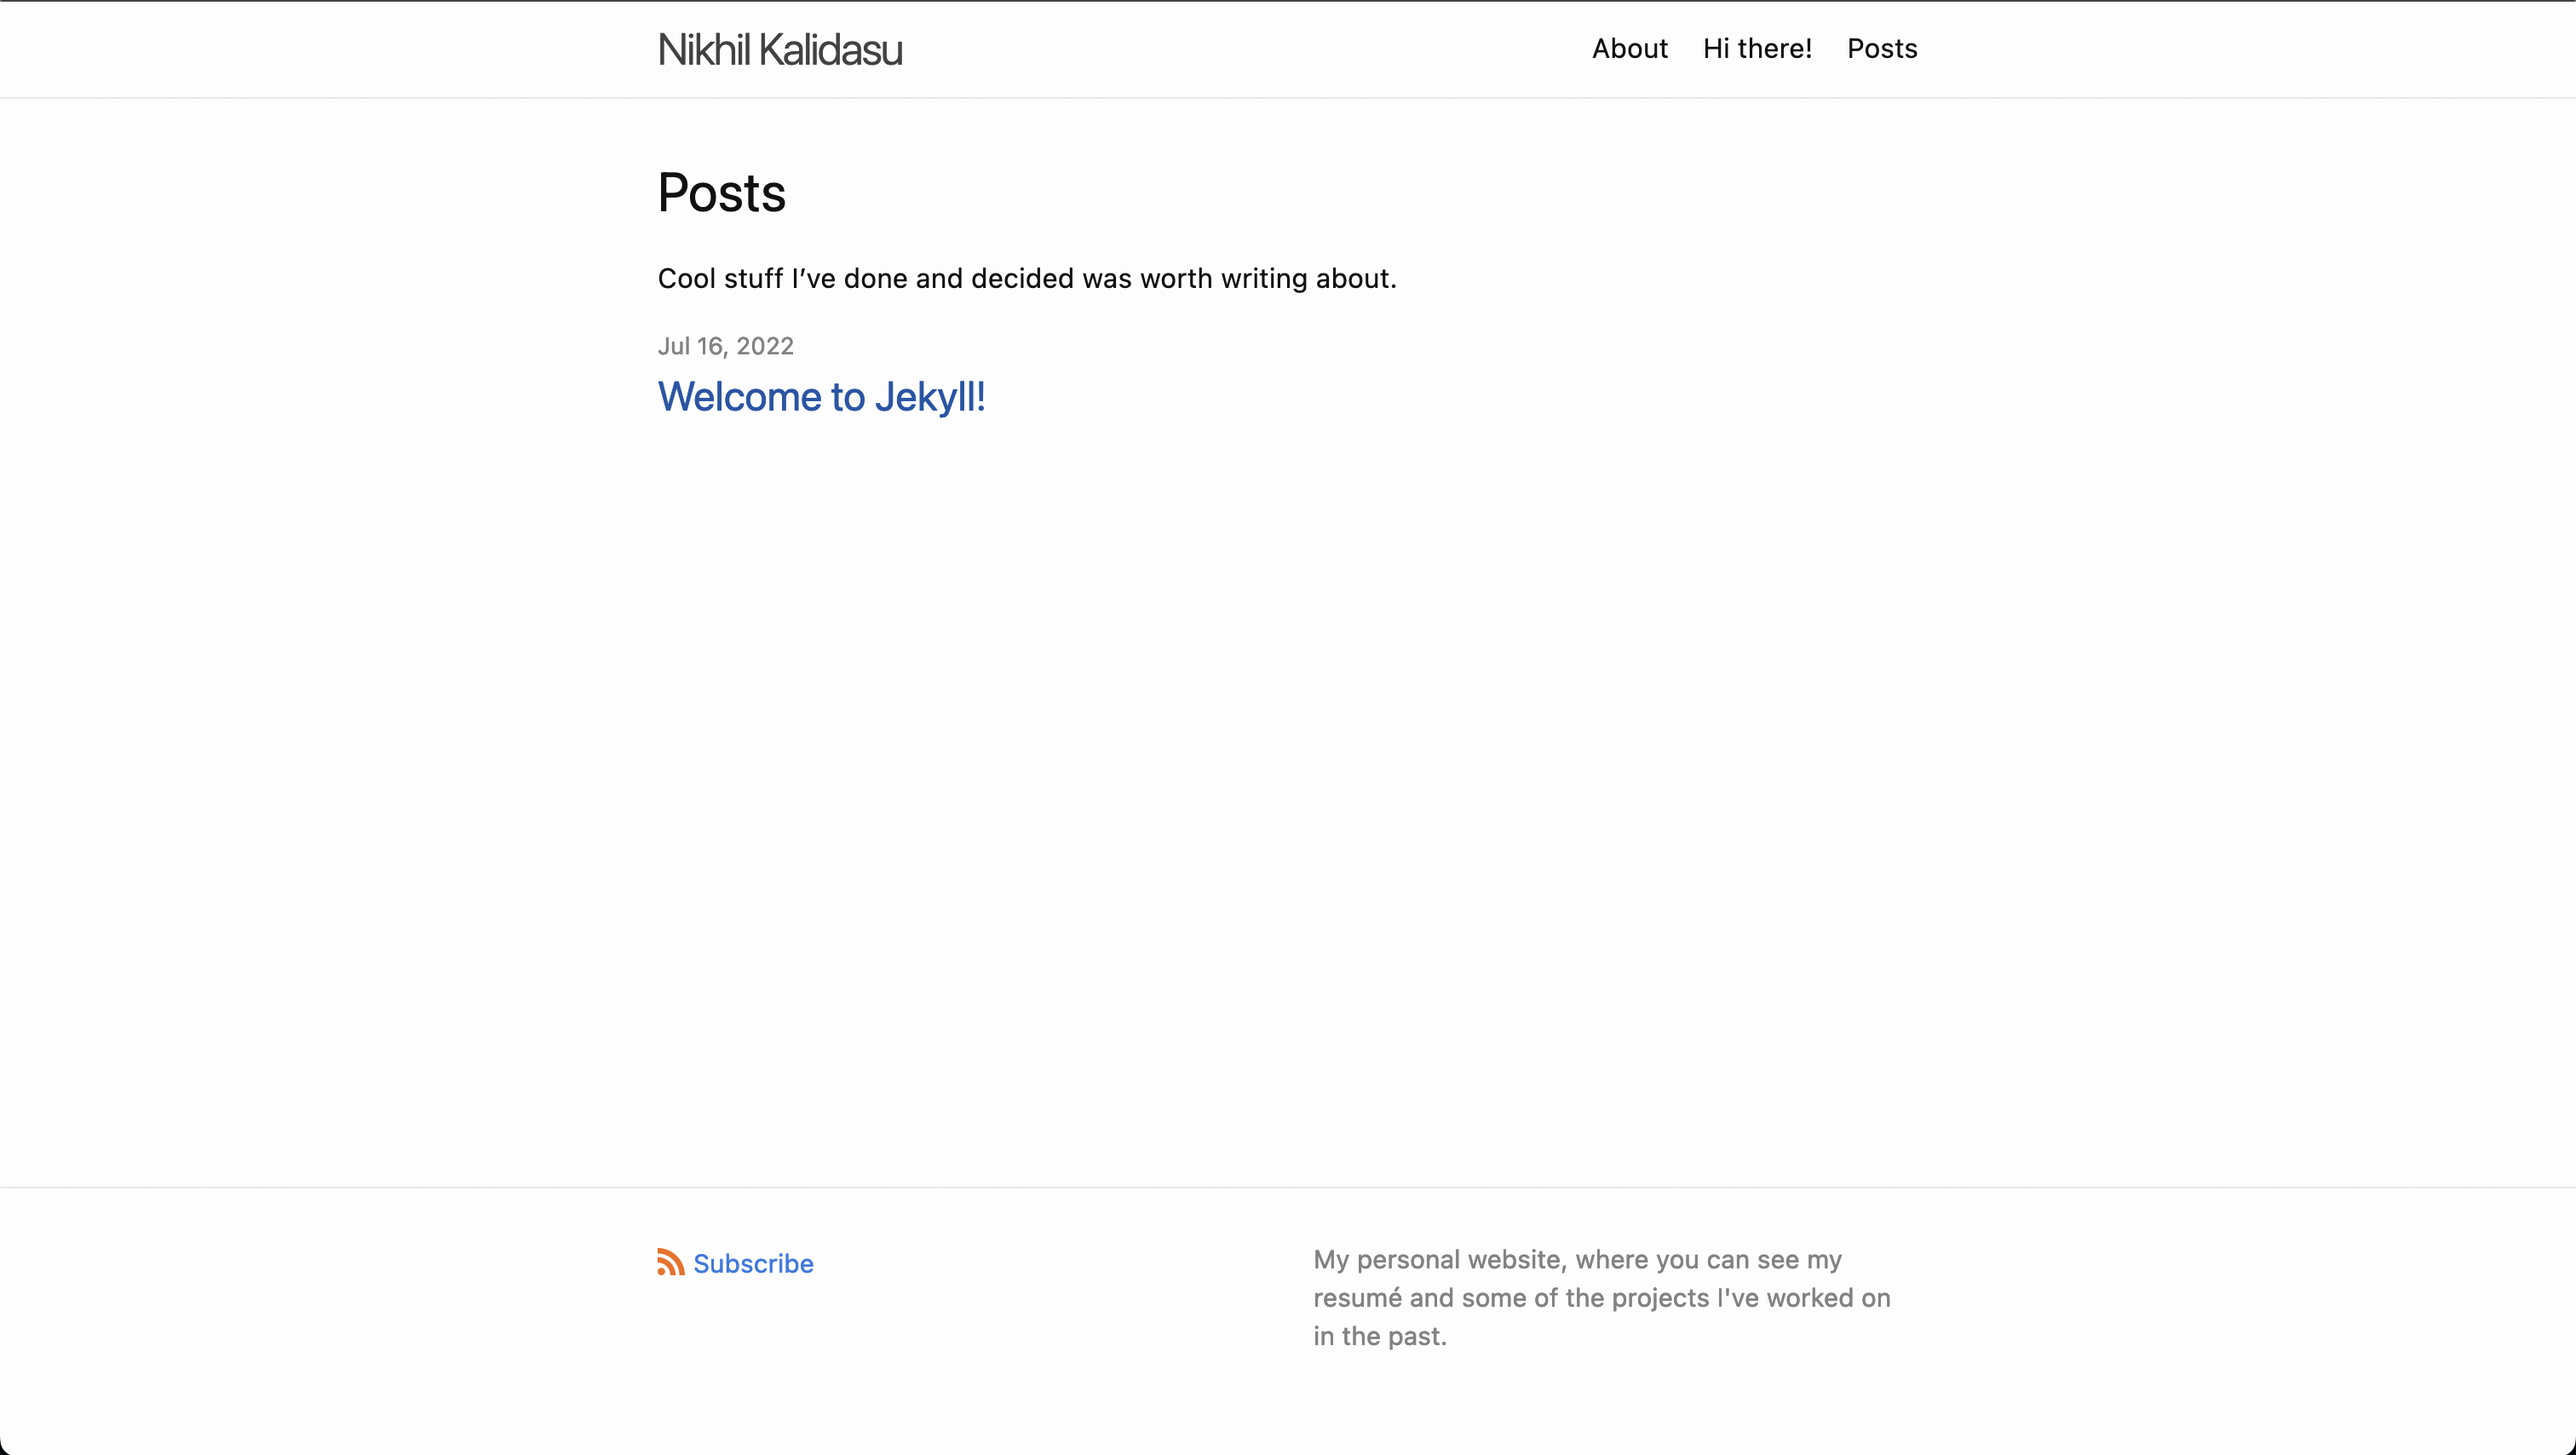
Below are some screenshots of what the site looks like right now:
Main Page

Posts Page

What’s Next?
I’m pretty happy with where I got, considering that two days ago there was literally no site at all. But this is far from done. The very first thing I’ll have to do is completely overhaul the color scheme on this theme. I don’t know if there’s a dark mode for Minima, but I’ll either have to switch to that or make the changes myself, because the whiteness on this is blinding. I’ll also have to actually create an interactive resumé (which means I’ll have to update my non-interactive resume…). Once all that is done, I can declare a “formal release” and publicize this site on my socials (speaking of, I’ll have to add links to those somewhere…).
The point is, I’ve got stuff to do. So in the meantime, feel free to subscribe to my RSS feed (which theoretically works) to get more updates on my progress, and hear about my future projects as I start them.